
If you intend to for instance laser cut a design that includes text make sure to convert it to curves before submitting it, to ensure the text looks as you designed it regardless of whether or not the cutter have the font.
The command is:
Ctrl + Q in CorelDRAW
Ctrl + Shift + C in Inkscape
Ctrl + Shift + O in Adobe Illustrator
Category Archives: Making
pretotyping vs productyping
Something to keep in mind when starting the adventures of rapid prototyping (and 3D printing) – or for that matter during software development, is to consider what we need to create and do just that.
Pretotyping is about “Make sure you are building the right it before you built it right.”
A prototype is made to make sure we are building it right, but too seldom a pretotype is created to test that the right it is being built.
So the great idea with a pretotype is about failing early (with low costs) or starting making a prototype of the important bits.
The good thing with failing early is of course that we can move on to the next idea and sooner find the ideas that are worth developing.
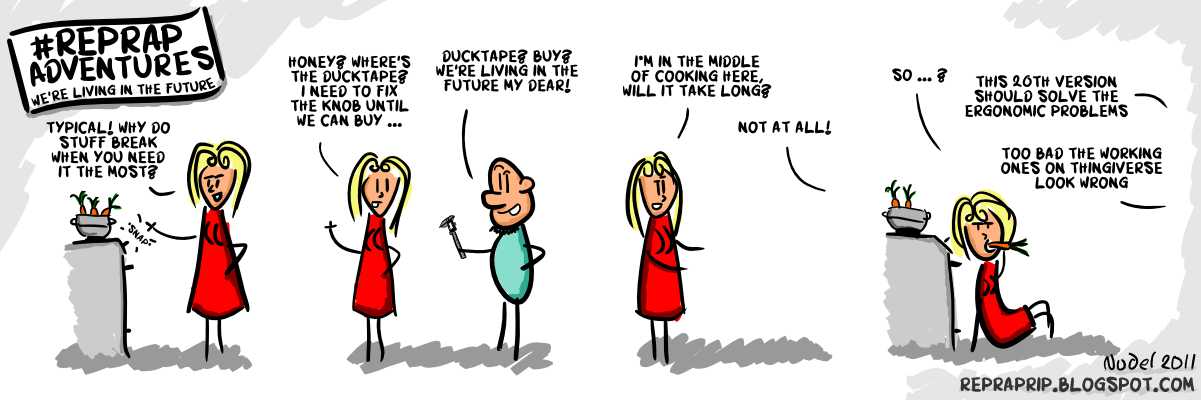
A productype on the other hand is the opposite, when features are added before the need for them is identified. The following two comics from “Rep rap adventures” and “xkcd” both show the problem with launching too late (or productyping; witch is when features not realy needed are added), and this is part of why a pretotype is nice. The sooner we can find the right it (and that is what pretotying is about) the sooner we can make a prototype and get to the market sooner.

So why should we preotype, can’t we just make a cheep protoype?
Based on my dayjob at wi.se I have drawn the conclusion that the pretotype should be used to find the right it, not a argument for making a cheaper prototype. Even if you get someone (like us) to do a prototype for you for free – that will not help at all if it is not for the right it. Also in a pretotype it is more common (and accepted, even liked) to cheat/pretend that functions are working or simply faking them, in a prototype more often features are there, but might be limited in function.
Merging personal fabrication and distributed manufacturing.
Another step of the open source 3D printing revolution might be to merge personal fabrication and distributed manufacturing.
Someone produces a model of a custom part that he/she needs produced and then asks the community to produce it (an example of this at thingiverse, a custom part made by Ponskaartje.
I think this is a very nice idea that might get the 3d printing/personal fabrication revolution rolling even faster.
Also I hope that we will start seeing more of this and perhaps even a marketplace that can make this happen (where a user asks for a part and sets some limits on it, and users might bid on making this part) like the sites where for instance programming tasks are put up and the developers have to bid on the task and the one asking chooses the best option.
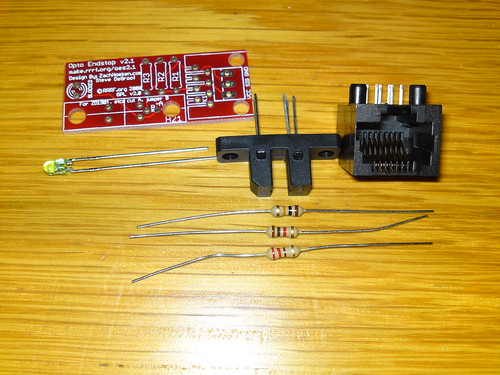
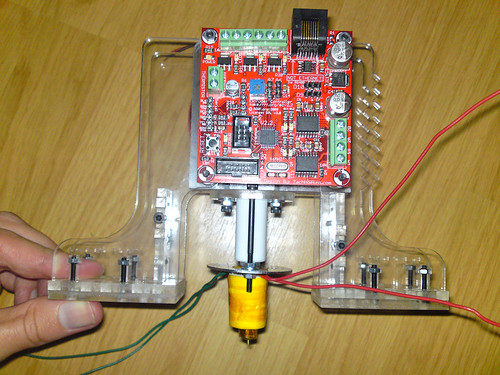
6 opto endstops for fermat
Endstops are used so that the machine using them to know where the ends of an area is. The opto endstop uses a Transmissive Opto Sensor and a flag that tells the machine that the limit is reached.
A opto endstop also needs a flag to break to break the optical sensor, but that is a later thing to do; also needs a bunch of cables for the installation…
This is the components for one endstop laid out:
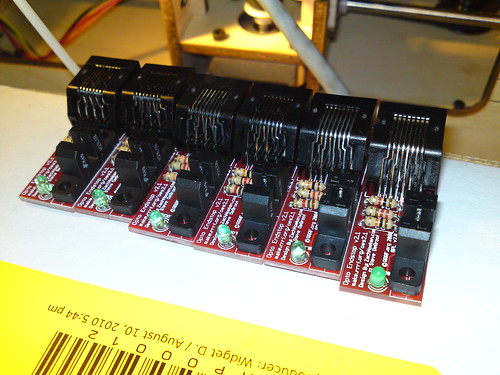
And the finished result:
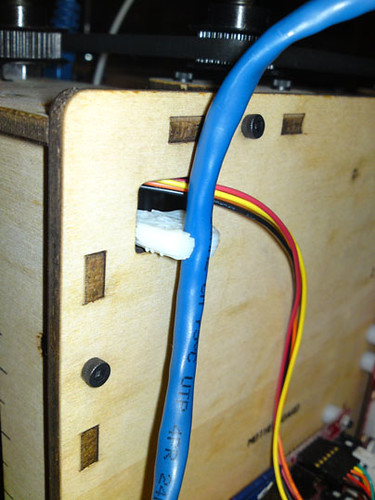
Made a Makerbot extruder cable clip by justjoheinz
This is a small clip that fits in the hole above the motherboard and clips the cable that goes to the extruder – thus keeping it from touching the drive belt.
The model can be downloaded from Thingiverse to be printed.
The raft came lose at the end of the print so it was not completely finished, however it is still useful.
BECKMAN 3020 DMM – Cleaning and changing battery
I have gotten an old hand held DMM that had gotten some paint spilled on the LCD a long time ago.
Speaking of old
I have tried measuring resistance and voltage with it before but never gotten any good readings with it; the ohms was swinging between 0 and 50 when the test leads where shorted.
Today I figured I should try to clean it off as it is hard to read the LCD with paint over most of it.
I used some nail polish remover to get rid of the paint and when that was done I was able to see the decimal dot on the LCD.
Once I could see this I knew it was time to change the battery [On this DMM the decimal dot flashes when it is time to swap battery].
I am a bit surprised that the DMM even came to life, it should have a 9V battery. The old one had a best before date of 2001 and held all of 4.2 volts.
With a fresh and stronger battery the readings got a lot better, for instance with the test leads shorted now it reads about 0.2 ohms.

Makerbot: Connecting the stepper motors
By testing the stepper motors and the heater from the ReplicatorG control panel I found I had connected the X and Y motors to the wrong controllers.
The correct way to connect them is:
- Z: This is the motor that is on the top of the MakerBot
- X: This is the motor that is at bottom of the MakerBot
- Y: This is the motor that is on the X-Stage (the moving table inside the MakerBot)
Cheat sheet to test them:
- Z-: This should move the extruder down towards the build surface
- X+: This should move the XY-Stage towards the covered side (the one where the electronics are on the other side)
- Y-: This should move the build surface towards the M on the front
First challange; ReplicatorG said “Extruder board: Null version reported! Make sure the extruder is connected and the power is on”
The first challenge was that no green LED’s lit up on either the motherboard, the stepper cards nor the extruder.
All I could see was a red flashing light.
In short, don’t get confused by the error message. The power to turn on is not at the extruder, but at the motherboard.
There is a power switch on the lower left part of the motherboard – this should be turned on.
If you are getting this error when the power is turned on there, then something else is the issue 
When all works well you will get a message about the motherboard version and extruder version in the text box below the main window (where the build area and model is shown)
Putting it together
The final step is to put the plastruder on the Z board and to attach the [not] Ethernet wire between the plastruder and the motherboard.
I also clipped the USB cable on the power from the PSU to the Mother Board as a strain relief.
Next up, install the software; run the tests and then if nothing burns up make a first print.
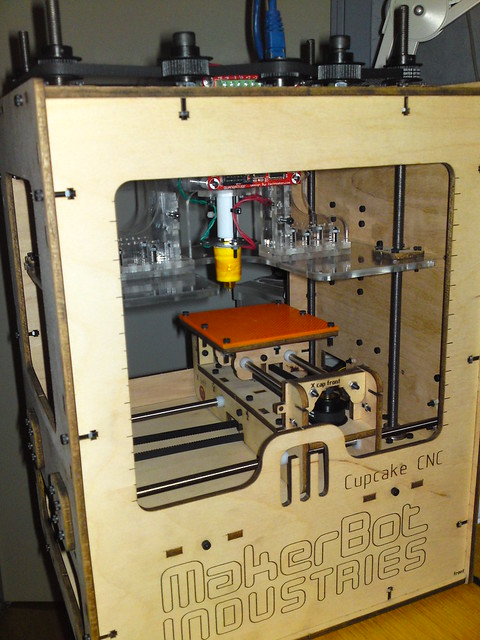
Plastruder MK4
The plastruder is possibly the most important part of the MakerBot.
This had the most pieces, the longest instruction and the most images (and it would benefit the wiki if some of the texts moved closer to the images) – but enough on that.
Hint: Twist the wires from the thermistor before cutting them to length.
Parts:


Assembly:
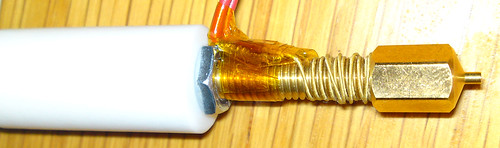
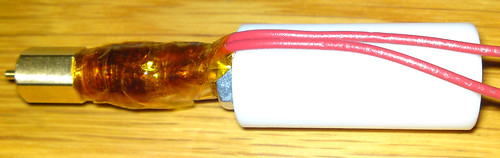
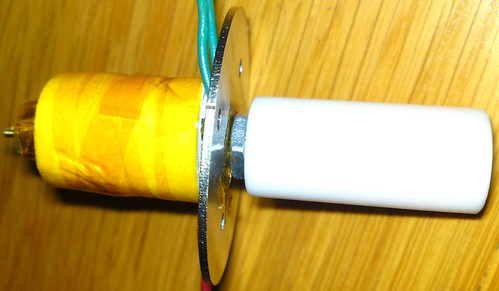
Having put the barrel back together. Hint for others, put the nut next to the PTFE heater barrier. Remove the barrier, secure the nut and then put on the Nichrome wire, it is a lot easier than the method suggested in the wiki (putting on nichrome, insulators and removing the PTFE barrier and putting in the big washer).

Only remains to run the wires and hook them up