This part was very simple and straight forward.
The only two problems I ran into while making the Y-stage was
- That I did not know what “Flanged bearings” were – and it took me a while to find the <a href="part lists in the subversion archive. Once I had that it was simple to find a data sheet with a drawing on it.
- [not MakerBot related] The lid for the superglue bottle had been glued to the plastic below. Had to find a Tongue-and-groove pliers to get it unstuck
Tips for other builders:
- Try to insert the magnets from both sides before finding a small file to make the holes larger
- If you are unsure what the part you are looking for should look like, consult the part list and the try to find a drawing of it – if you live in a country that isn’t native English speaking there is little point trying to ask others; unless they have made a MakerBot or similar before.
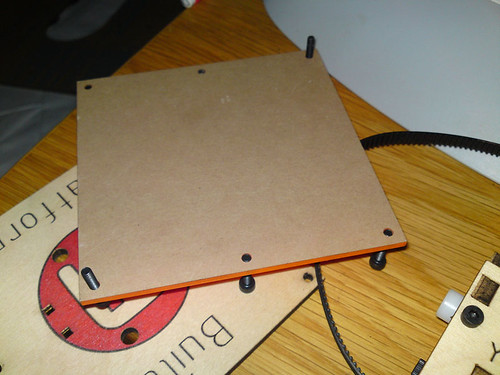
- When adding the acrylic build surface to the wood start with the two screws that are diagonally to each other (if you would start with one side there is a rather large chance that the last screws won’t line up correctly) [see construction picture 3]
- When putting in the last magnets, using a plastic plier (or some other non magnetic item) is easier than using a hex key 😉
Some images from the process:
All parts laid out before:
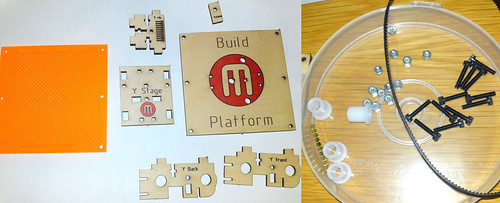
The flanged bearings are the white "tubes with a lip on"
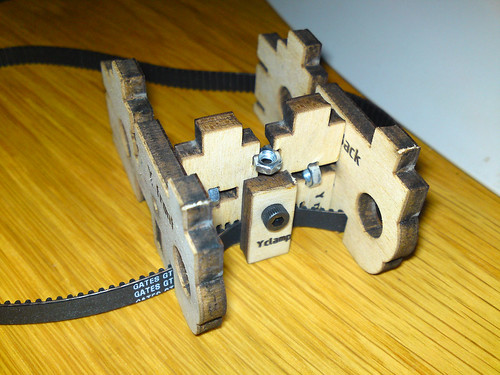
Construction images:

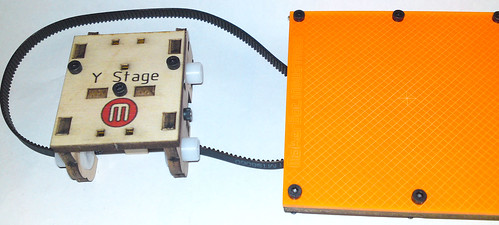
Final result: